[스테이블 디퓨전] 인물 사진 만든 후 보정 하기
내가 사용하는 방법이라서 이게 정답인지는 모르겠다.
인물을 뽑고 더 퀄리티 좋게 보정하는 방법인데, 혹시 모르는 분은 참고하길
먼저 인물을 txt2img로 생성할때 첨에는 512로 빠르게 뽑다가 맘에 드는 이미지가 생기면 Seed를 고정시키고 Hires. fix를 키고 뽑는다.
난 기본적으로 txt2img 생성 때 Tiled Diffusion with Tiled VAE나 Detection Detailer를 사용하지 않는다.
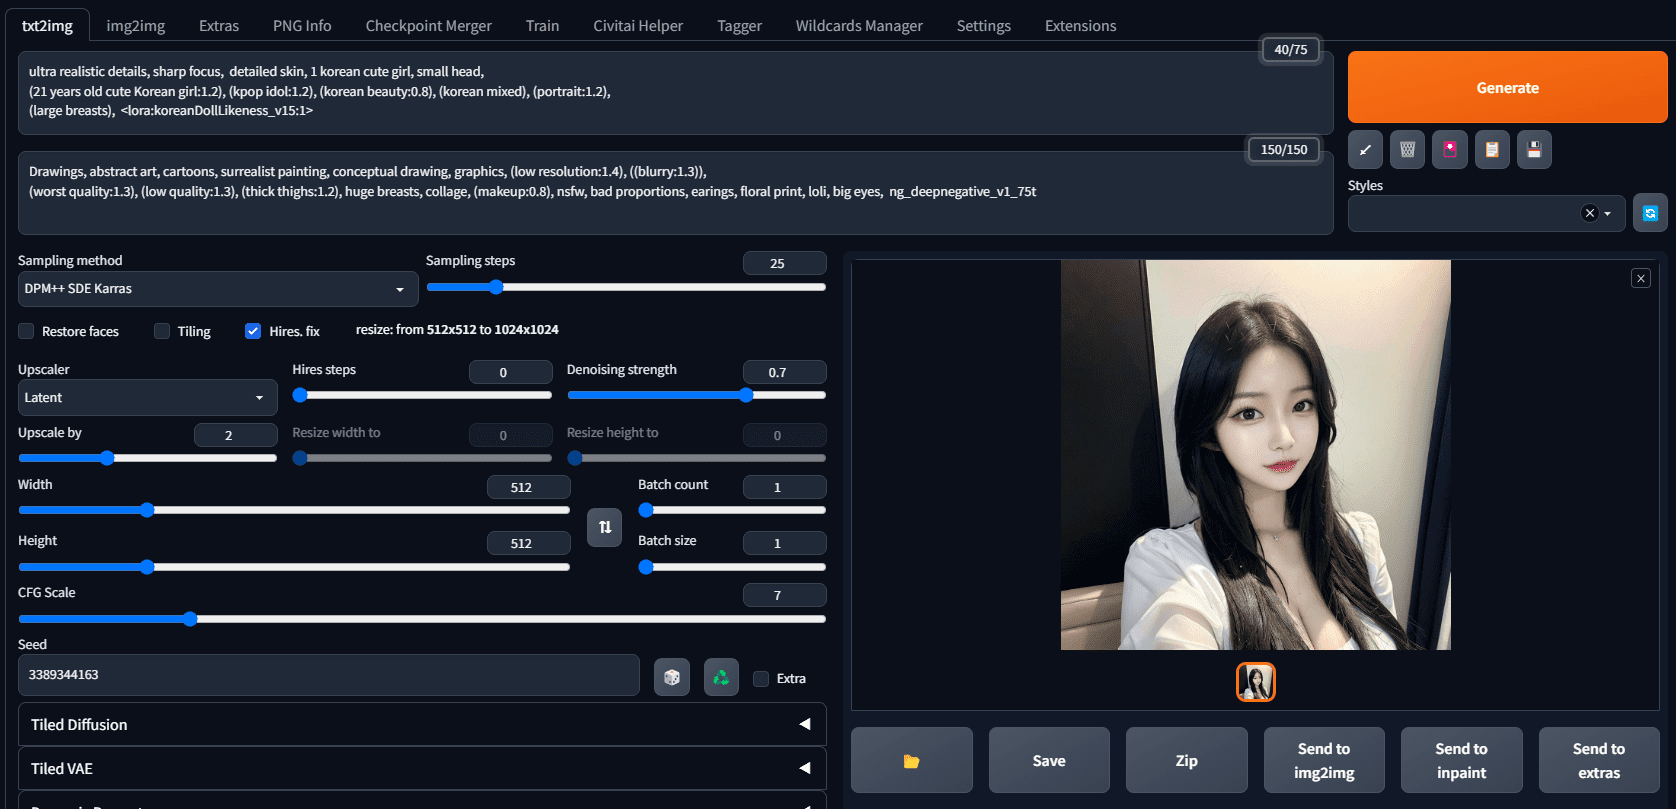
ultra realistic details, sharp focus, detailed skin, 1 korean cute girl, small head, (21 years old cute Korean girl:1.2), (kpop idol:1.2), (korean beauty:0.8), (korean mixed), (portrait:1.2), (large breasts), <lora:koreanDollLikeness_v15:1> Negative prompt: Drawings, abstract art, cartoons, surrealist painting, conceptual drawing, graphics, (low resolution:1.4), ((blurry:1.3)), (worst quality:1.3), (low quality:1.3), (thick thighs:1.2), huge breasts, collage, (makeup:0.8), nsfw, bad proportions, earings, floral print, loli, big eyes, ng_deepnegative_v1_75t Steps: 25, Sampler: DPM++ SDE Karras, CFG scale: 7, Seed: 3389344163, Size: 512×512, Model hash: 5c2e28a5ce, Model: henmixReal_v10, Denoising strength: 0.7, Clip skip: 2, Hires upscale: 2, Hires upscaler: Latent Used embeddings: ng_deepnegative_v1_75t [1a3e] Time taken: 24.15s Torch active/reserved: 5839/10308 MiB, Sys VRAM: 12288/12288 MiB (100.0%)
위 프롬프트로 뽑은 원본 이미지

이제 이걸 img2img로 가지고 간다.
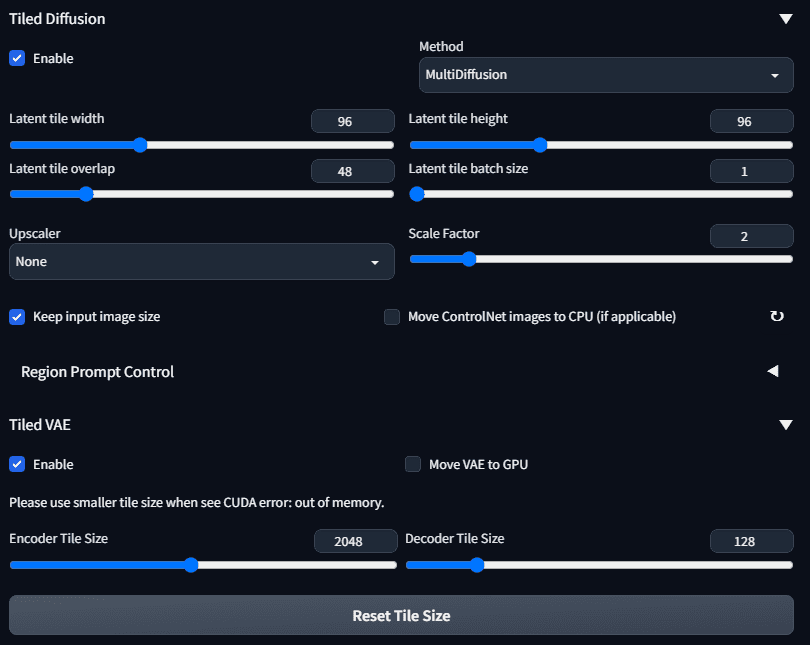
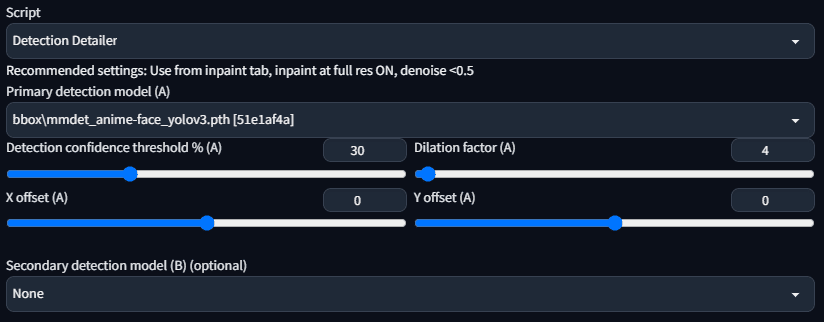
그리고 img2img에서 Tiled Diffusion with Tiled VAE나 Detection Detailer를 적용하는데 하나씩도 해보고 둘 다 동시에 적용도 하면서 맘에 드는것을 찾는다.
어떤 인물의 경우 둘다 적용하면 이상하게 나올 때도 있어서 하나씩 해보고 맘에 드는 것을 찾는 편이다.
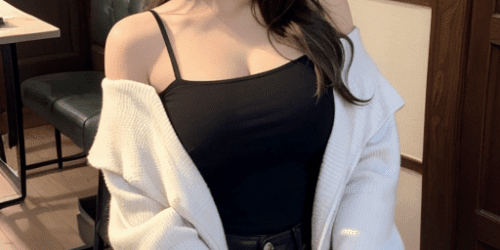
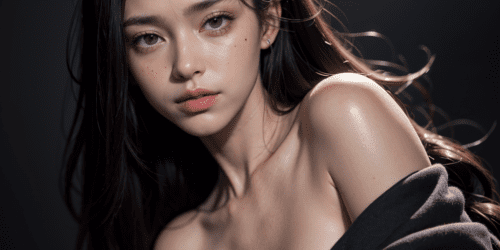
아래는 원본과 Tiled Diffusion with Tiled VAE를 적용한 이미지
왼쪽이 원본 오른쪽이 Tiled Diffusion with Tiled VAE 적용


아래는 원본과 Detection Detailer를 적용한 이미지
왼쪽이 원본 오른쪽이 Detection Detailer 적용


아래는 원본과 Tiled Diffusion with Tiled VAE + Detection Detailer를 적용한 이미지
왼쪽이 원본 오른쪽이 Tiled Diffusion with Tiled VAE + Detection Detailer 적용