[스테이블 디퓨전] 웹UI(Stable Diffusion WEB UI) 윈도우용 설치 방법
스테이블 디퓨전 웹UI는 온라인 버전, 윈도우 설치용, 맥 설치용이 있는데.
온라인 버전은 구글 아이디의 권한을 넘겨야 해서 뭔가 좀 찝찝~
그리고 불안정 하다고 해서 윈도우용 설치로 진행했다
그리 많이 어렵지 않아서 정리!
STEP1
Python 3.10.6을 다운받아 설치 합니다.
아래 경로에 접속하여 Python 3.10.6을 찾아 다운 받습니다
https://www.python.org/downloads/windows/
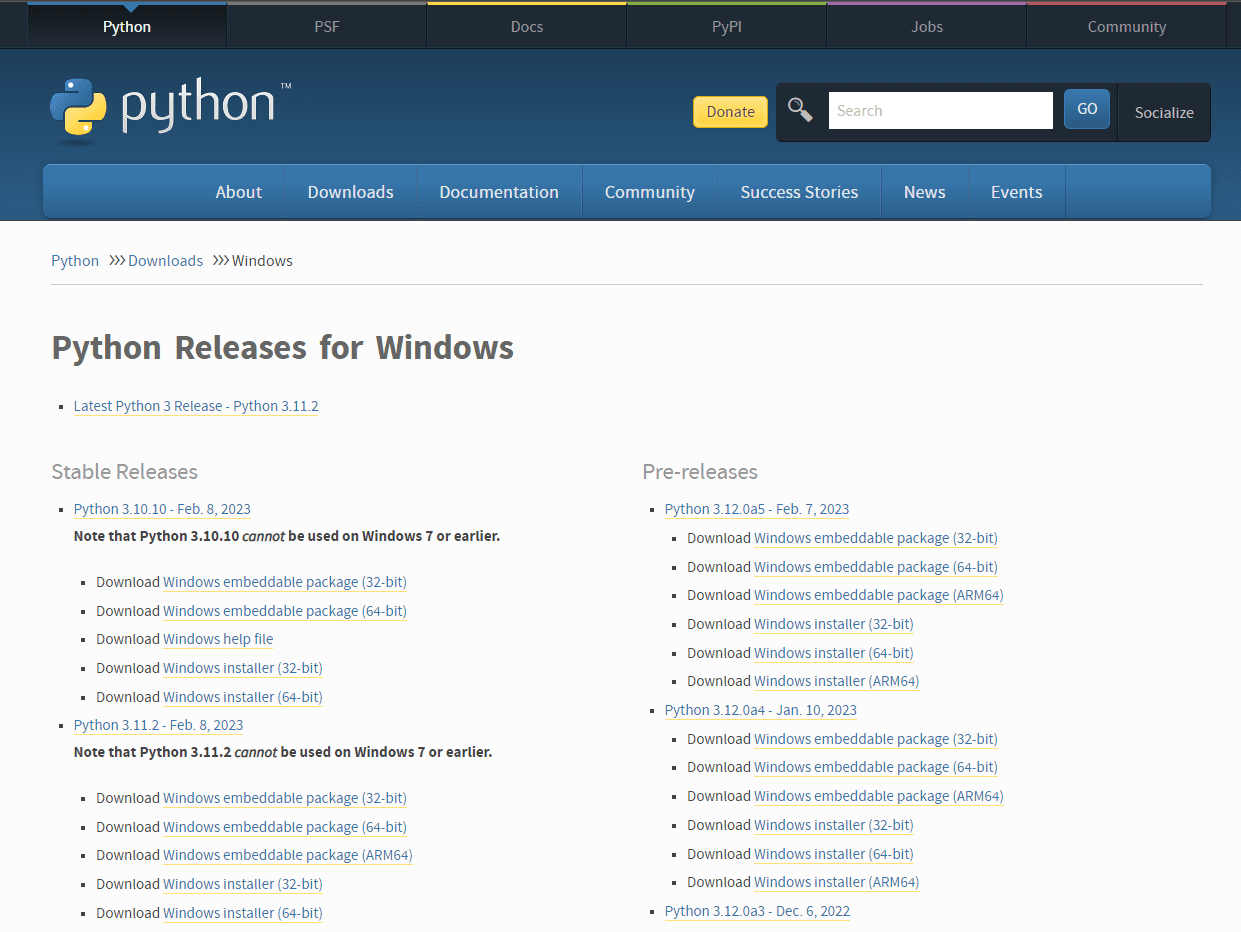
조금 스크롤 내리다 보면 [Download Windows installer (64-bit)] 가 있는데
클릭하여 설치 파일을 다운 받습니다

다운받은 Download Windows installer (64-bit) 실행 파일입니다.
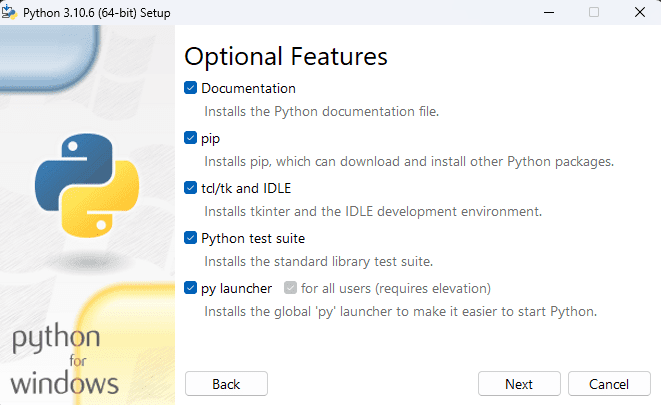
더블 클릭하여 설치해 줍니다.

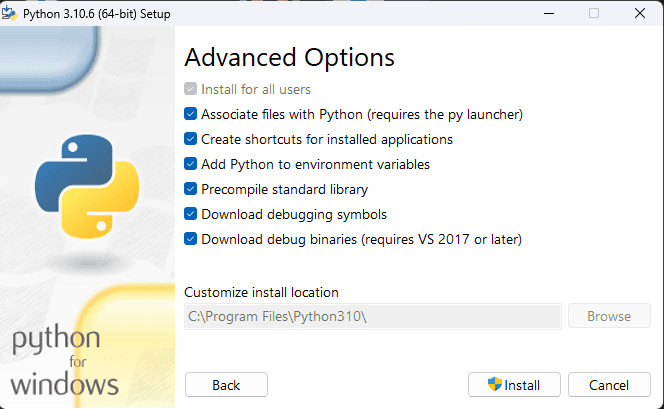
설치할때 모든 옵션의 체크 표시를 해줍니다.(설치시 커스텀 모드 설치)
STEP2
Git-2.39.2-64-bit를 다운받아 설치 합니다.
아래 경로에 접속하여 Git-2.39.2-64-bit를 찾아 다운 받습니다
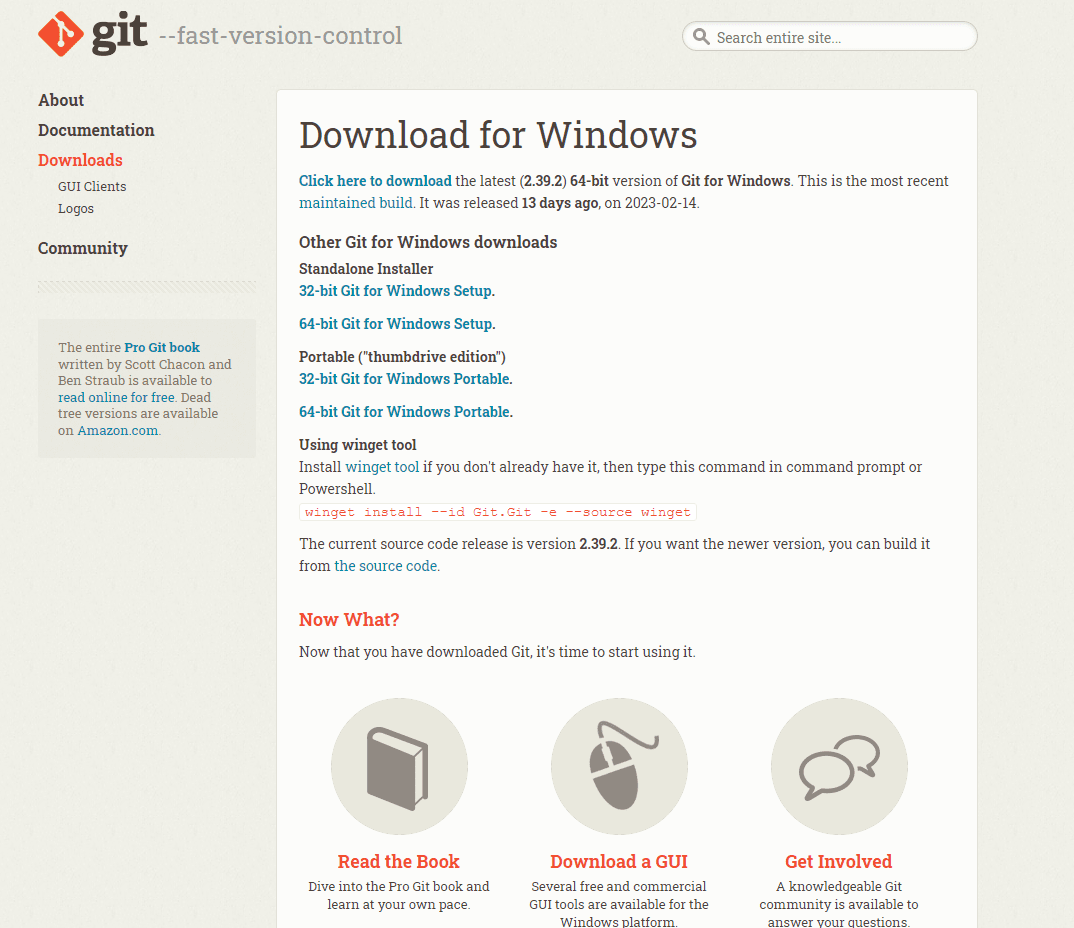
https://git-scm.com/download/win
Git – Downloading Package
Click here to download the latest (2.41.0) 64-bit version of Git for Windows. This is the most recent maintained build. It was released 26 days ago, on 2023-06-01.
접속한 페이지에서 [64-bit Git for Windows Setup.] 를 클릭하여 설치파일을 다운 받습니다.
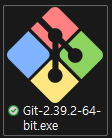
다운 받은 [64-bit Git for Windows Setup.]을 더블 클릭하여 설치
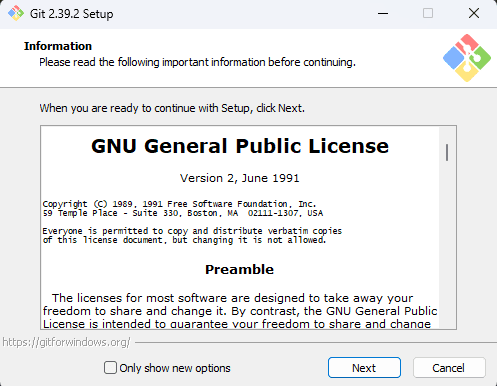
계속 넥스트 버튼을 눌러 설치 완료합니다.
STEP3
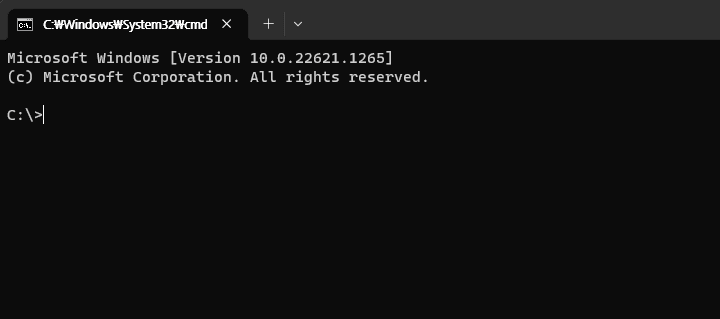
이제 탐색기를 열어서 C드라이브로 이동합니다.
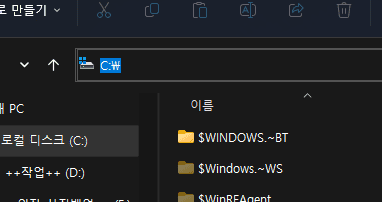
위 경로 입력 창에 CMD 를 입력후 엔터를 누르면
명령 프롬프트 창이 나옵니다.

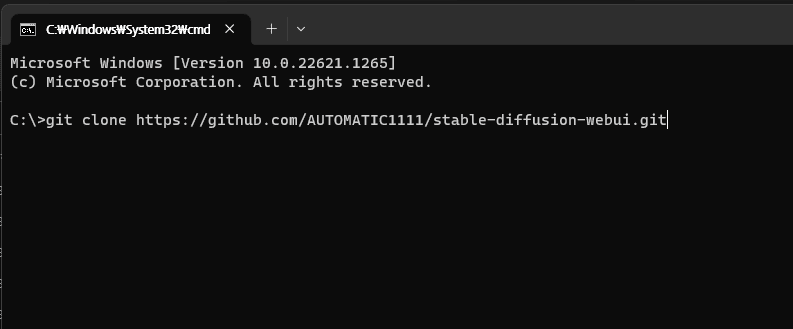
위 명령 프롬프트 창에 아래 명령어를 복사후 붙여 넣기후 엔터를 누릅니다.
git clone https://github.com/AUTOMATIC1111/stable-diffusion-webui.git
한참 10분? 정도 설치가 완료 되면 아래와 같이 접속 주소가 나옵니다.
http://127.0.0.1:7860(<—이 주소는 사용자 컴마다 틀림)

크롬이나 인터넷 브라우저 창에 위 주소를 붙여 넣으면
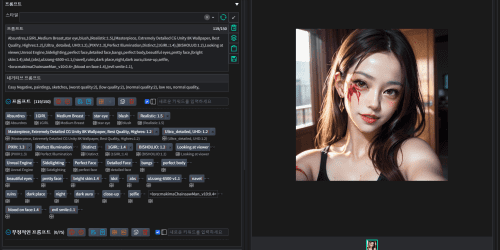
스테이블 디퓨전 웹UI가 나타납니다.

이후에도 사용하고자 할때마다 C:\stable-diffusion-webui 경로 안에 있는
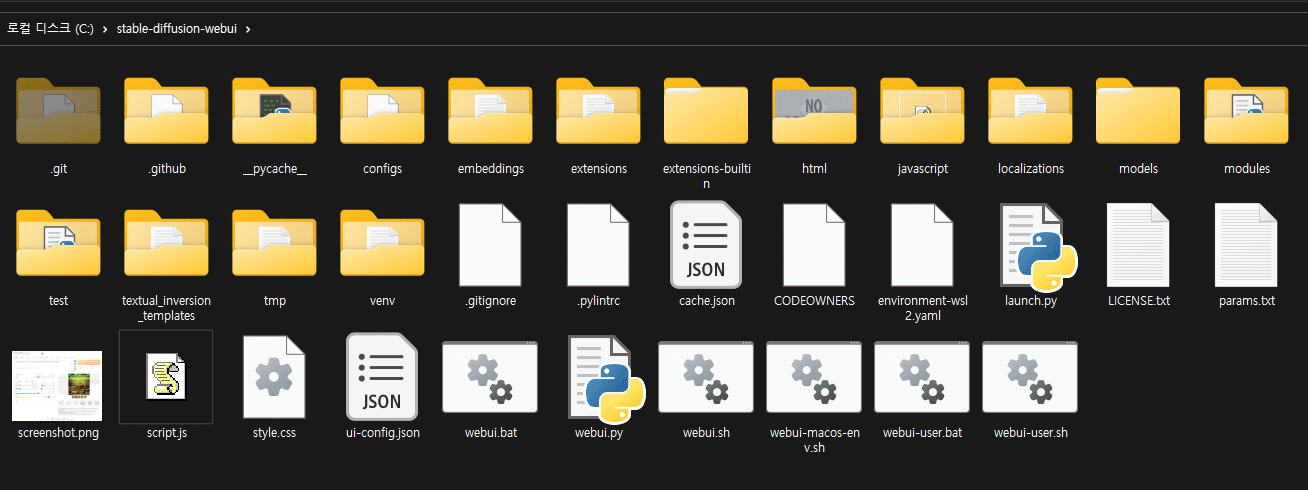
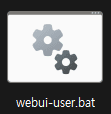
webui-user.bat을 실행후 나오는 주소로 접속하면 됩니다.

접속 주소를 컨트롤 키 누르면서 클릭하면 바로 연결이 됩니다
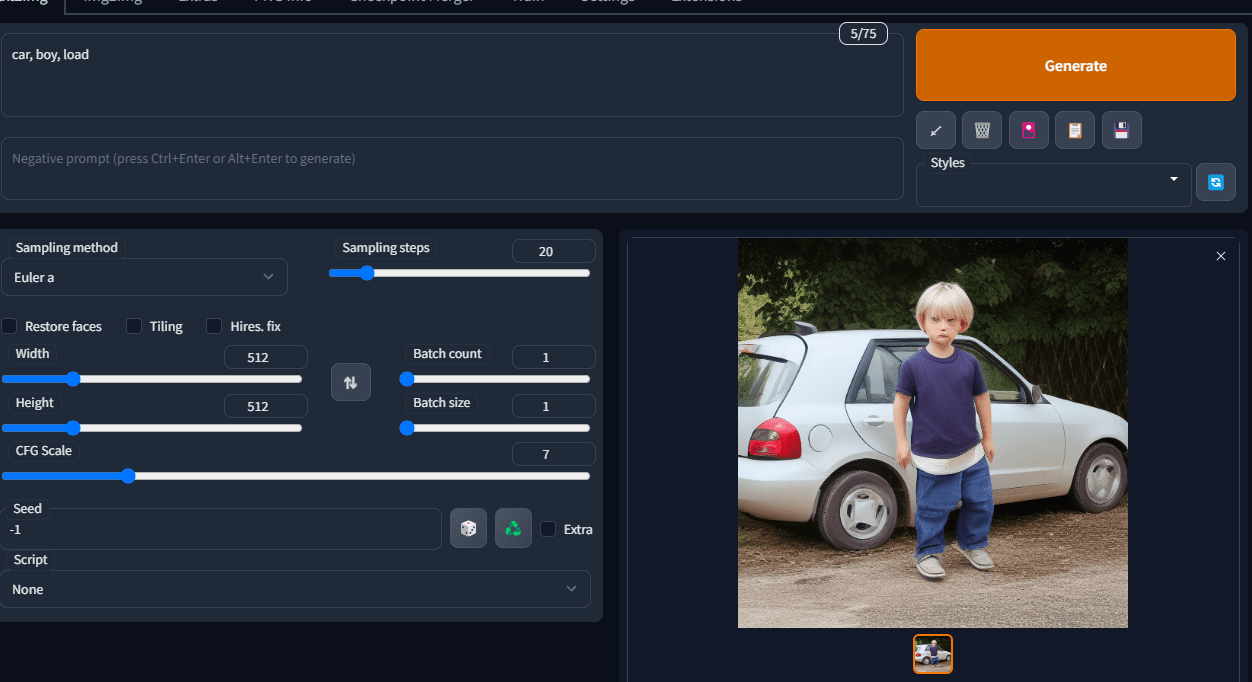
스테이블 디퓨전 웹UI을 이제 무한정 써보면서
원하는 이미지를 무한정 만들어 볼까요?